Documentation
Windows

The installation is only possible with a valid subscription. However, an existing backup can be used to restore the software even without subscription. See Change of Platform

A regular backup is recommended to ensure that your system is as current as possible in case of a defect. Even more, an active subscription is required to download IP-Symcon anew in case of a complete loss of data.
Content
Installation
Version Requirements
The version overview shows which version of IP-Symcon is compatible with which Windows version.
Installation
Download: Setup (64-Bit)
IP-Symcon is one of the few programs that enables a clean installation and uninstalls without residue as it does not create a huge load of entries in the Windows registry. It merely stores the license key.
Remark

An internet connection is required to install IP-Symcon. If no connection is available on the target computer, IP-Symcon needs to be installed on another computer and copied to the target computer afterwards.
Setup
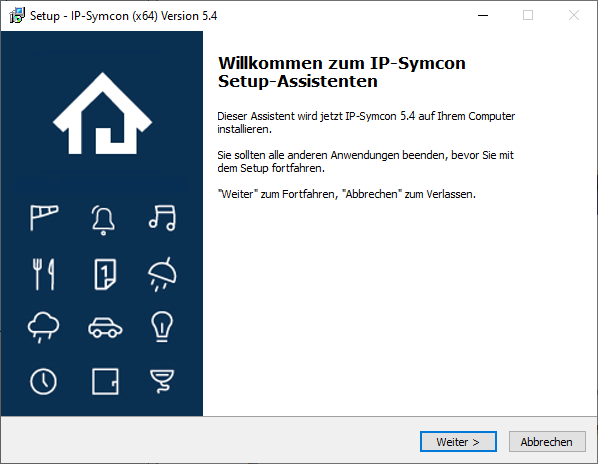
The following window should appear after starting the setup:

The next step is reached after comfirming the dialog with "Next".
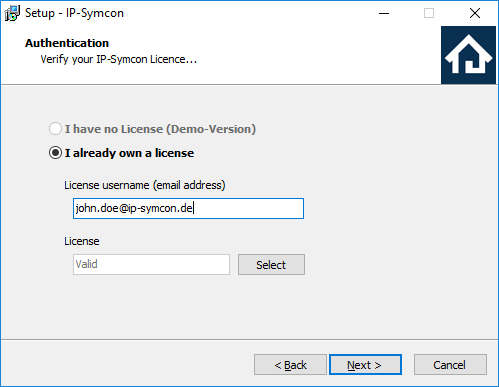
Provide Lizense Data
It is possible to either use a demo version or a complete license by entering a user name and the license file. Afterwards, "Next" finishes the dialog.

The user name usually corresponds to the e-mail address used in the ordering process.

The subscription is checked now.
It is only possible to install IP-Symcon with a valid subscription unless you install the demo version.
- When the subscription has expired, an extension can be ordered in the shop: Shop
- If no connection to the server can be established, please check to internet connection and the proxy settings.
After accepting the terms of license, a fitting path needs to be chosen (e.g., C:\IP-Symcon) and confirmed with "Next".

During installation the folder C:\ProgramData\Symcon is automatically created. It includes all server data, the individual data of the local installation. If wanted, it is possible to move the server data since version 6.0. Move Server Data
The button "Install" starts the copying of files.
After a click on "OK", the installation on the system is done. Depending on the activated options, the IP-Symcon service and the IP-Symcon tray application are started automatically.
The IP-Symcon WebFront should be reachable at http://ipadresse:3777/.
The IP-Symcon web based Management Console can be called via http://ipadresse:3777/console/. Alternativly, the Pro Console can be used.
Set Remote Access Password
Remote Access provides a tutorial for configuring remote access.
Update
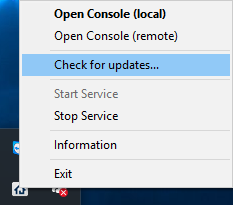
The newest version can be downloaded and installed by right clicking on the tray icon and choosing "Check for Updates ‑> Download". The service needs to terminate once during the update and is automatically rebooted afterwards.

Uninstallation
Stop Service
The service can be stopped by clicking "Stop Service" in the context menu of the tray application.

Uninstall Service/Server
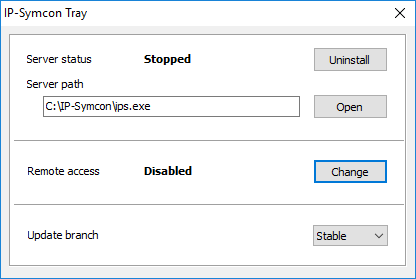
The dialog "Information" can be by the context menu. It should look like this:
Windows

"Uninstall" removes the service from the system.
Delete IP-Symcon
Finalize the uninstallation by deleting the complete IP-Symcon folder.
Move Server Data

The default folder should not be moved. However, in certain constellations it may be useful, e.g. for automatical backups.
The following steps are possible since version 6.0.
- Stop the IP-Symcon service
- Enter "regedit" in the Start Menu to open the registry editor
- Go to the path HKEY_LOCAL_MACHINE\SOFTWARE\WOW6432Node\IP-Symcon
- Create a new string here and name it "DataPath"
- Enter the new full path into the string "DataPath"
- Move the files from C:\ProgramData\Symcon to the new folder
- Verify that the folder C:\ProgramData\Symcon is either empty or does not exist any more
- Start the IP-Symcon service
From that time on, IP-Symcon starts from the new path.

Extremely important: The folder C:\ProgramData\Symcon is required to be either not exist or be completely empty